Configuring Outlook2000 for Home PC :
Before configuring the Outlook2000 you need to install it in your system before hand. After installation the components will only be updated upon running Outlook for the first time so you will need to insert the CD too.
Note : When you run Outlook for the first time please choose the option Corporate(this will enable your Exchange server),don't worry you'll see the Pop-up window for the list of Options available.
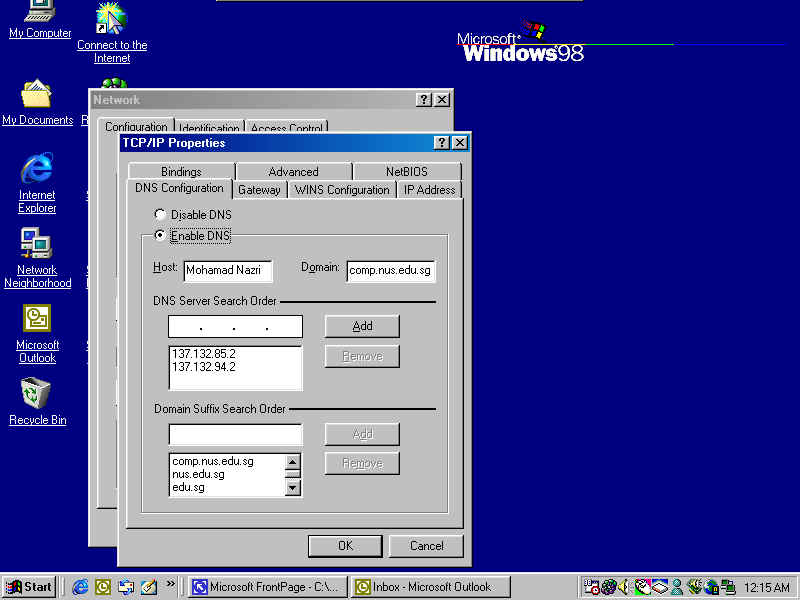
Step 1 : Make sure that the DNS in TCP/IP is set as necessary,see figure 1.
Figure 1
Step 2 : Set the Wins server as shown in Figure 2.
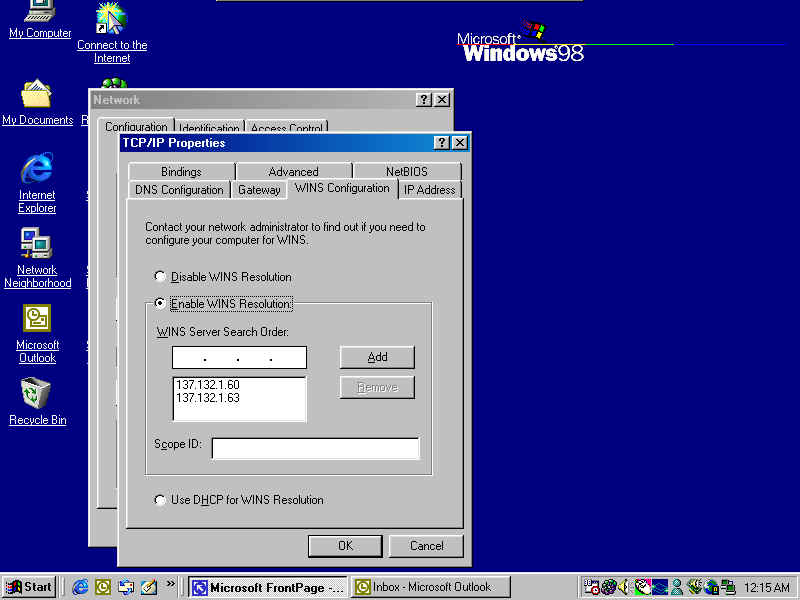
Figure 2
Step 3 : Go to control Panel and click MAIL
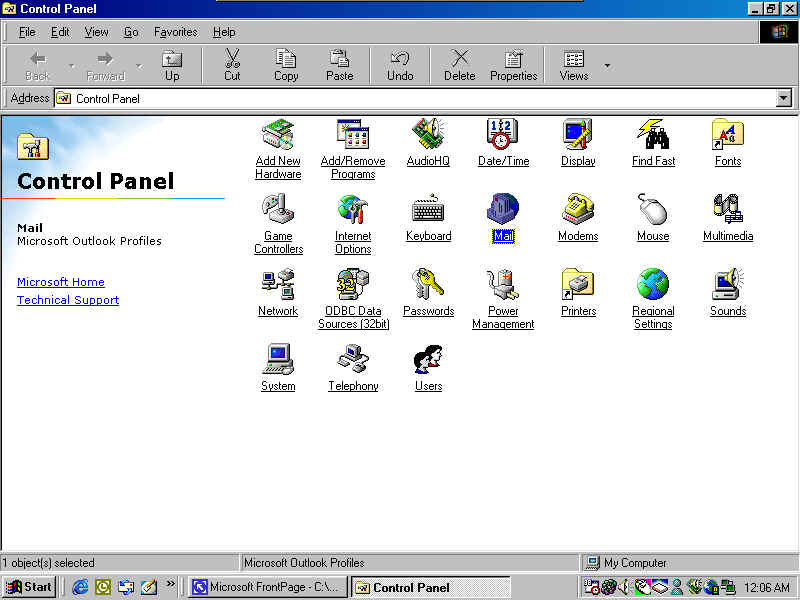
Figure 3
Step 4 : You'll see a menu,by default your Exchange is not added. Click "Add" and Choose Microsoft Exchange Server.
Figure 4
Step 5 : After you've added the Exchange Server,highlight the Server and Click Properties. Set the Microsoft Exchage server to EXS09,Type your name(normally a full name)and click "Check Name". You'll soon notice the name will be underlined after you've click the Check Name. Refer to figure 5 below.
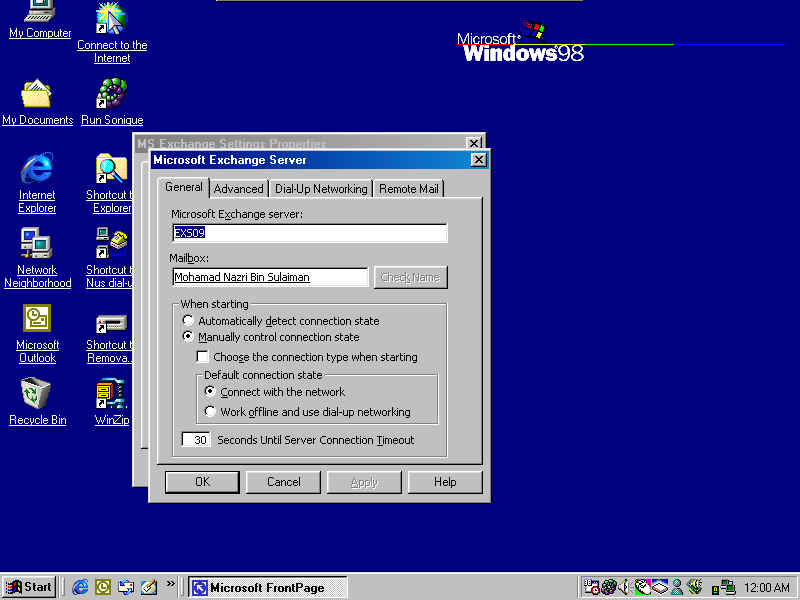
Figure 5
Step 5 : Next Set the properties in the Advance Tab as shown in Figure 6
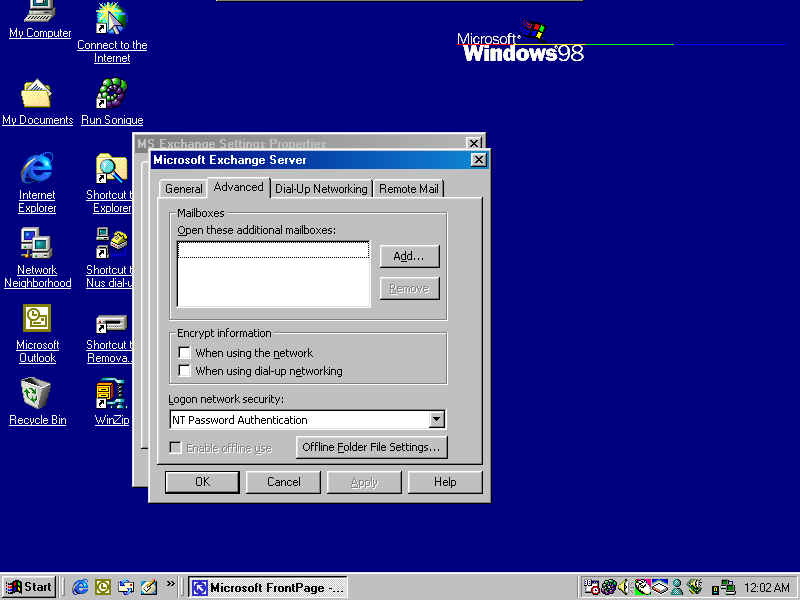
Figure 6
Step 6 : Under the Dial-up Networking,choose Dial using the following connection,click the pulldown menu and you'll see your default dial-up connection. Follow the settings as shown below in Figure 7.
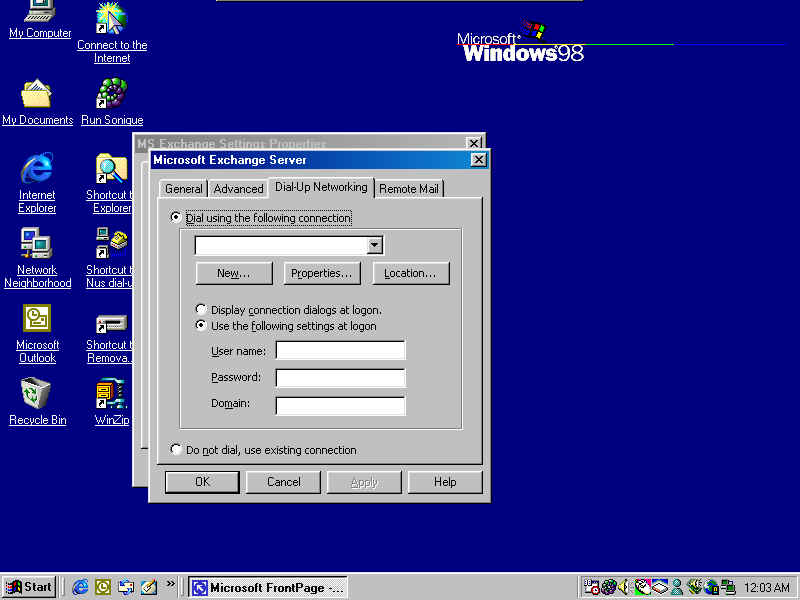
Figure 7
Step 7 : Run Outlook200,Click Option in the Tools Menu.
Figure 8
Step 8 : Under the Mail Services Tab, make sure you have the Services as shown below(you may add the Internet Mail from Suna as in this case but that is another story).
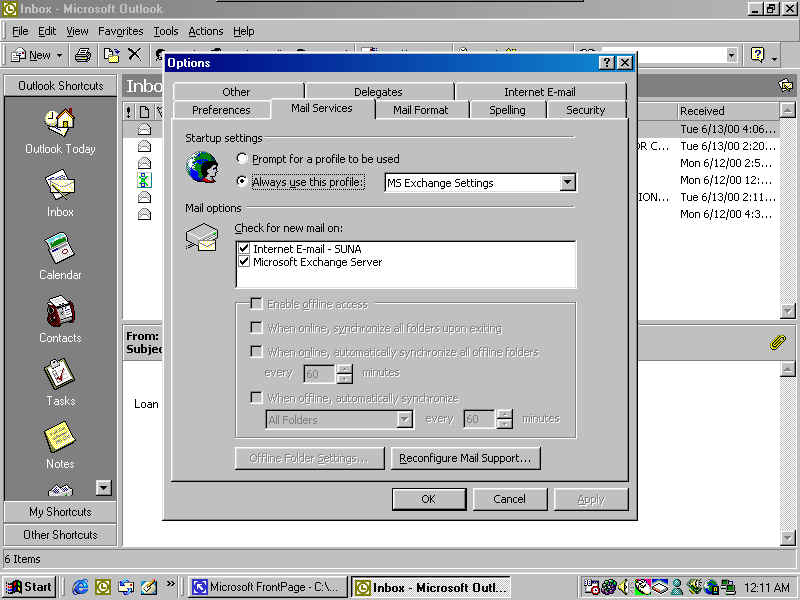
Figure 9
You are now ready to be connected to the NUS Exchange Server.
![]()