Setup ROS on Raspberry Pi 4 (Debian 12)
This tutorial will take you from a basic operating system image to independently building up the Robot Operating System (ROS). Engaging in this setup personally will not only provide you with a deeper understanding of the fundamental principles of operating systems and ROS architecture but will also enhance your practical skills and theoretical knowledge within a real-world framework. This first-hand experience is invaluable for your future learning in advanced modules, such as EE3305 Robotic System Design, and will be a significant asset for any robotics-related internships.
Be aware that the setup process can take more than 3 hours to complete. To accommodate different needs and schedules, the CG2111A Teaching Team has prepared a backup plan for you: an OS image that already includes ROS pre-installed. This allows you to bypass the setup process described in this tutorial and jump straight into using ROS with a ready-to-use image. Please refer to the Lab Instructions in Canvas.
Each step in this tutorial is crucial, with later steps building upon the successful completion of earlier ones. Therefore, after finishing each step, please make sure to check the corresponding checkbox in this tutorial. This action will change the status from "Waiting Completion" to "Marked as Completed." This simple practice ensures you're progressing correctly through the material and helps prevent any oversight that could impact later stages.
1. Download Latest Bookworm Version of Raspberry Pi OS Image
Please be aware that ROS has evolved over time, leading to multiple versions and the introduction of ROS, which comes with its own set of packages and configurations. This diversity can lead to conflicts between different versions. It's important to navigate these differences carefully.
In our case, we're focusing on the ROS version known as "Noetic," which is specifically designed to operate on Debian 12, also known as Bookworm.
This tutorial uses 2023-12-05-raspios-bookworm-arm64-full as OS Image. You can download this image from NUS SoC Mirror Server.
2. Setup Raspberry Pi OS
Before You Do
Important: back up everything on your Raspberry Pi 4 before proceeding, this operation will erase your SD card and all of your work!
Similar to the process in the previous session, utilize the Raspberry Pi Imager to flash the custom image you've previously downloaded onto your Raspberry Pi's SD card. Be prepared for this step to take some time. Start the image writing process, and while it progresses, continue reading ahead!
Ensuring a successful VNC connection to your Raspberry Pi is pivotal for the forthcoming steps in our tutorial. To verify that your operating system setup has been completed accurately, here's a concise checklist to guide your self-review:
Debugging Time
Note: If you encounter the “Cannot currently show the desktop” error while using VNC, you can resolve this issue by editing the boot/config.txt file on your Raspberry Pi.
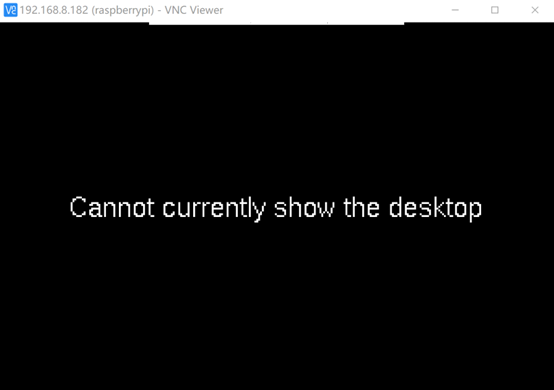
To do this, open a terminal on your Raspberry Pi and run the following commands:
sudo -s
echo 'hdmi_force_hotplug=1'>> /boot/config.txt
echo 'hdmi_group=2'>> /boot/config.txt
echo 'hdmi_mode=51'>> /boot/config
Please ensure no warning or error message when you do so, then reboot your Raspberry Pi 4 with this code:
sudo reboot
This issue should be solved elegantly!
3. Install ROS Noetic
To install ROS Noetic on our Raspberry Pi, we first need to add the ROS Noetic repository to our system. This ensures that we can download and install ROS Noetic directly from its official source. Follow these steps in a terminal window:
3.1 Add the ROS Noetic repository to system's software sources
sudo sh -c 'echo "deb http://packages.ros.org/ros/ubuntu bookworm main" > /etc/apt/sources.list.d/ros-latest.list'
This command creates a new file in /etc/apt/sources.list.d/, which lists the ROS Noetic repository as a source for software packages.
3.2 Import the ROS package signing key
sudo apt-key adv --keyserver 'hkp://keyserver.ubuntu.com:80' --recv-key C1CF6E31E6BADE8868B172B4F42ED6FBAB17C654
This step authenticates the repository, ensuring that our system trusts the packages coming from it, which is crucial for security.
After completing these steps, our system will be ready to install ROS Noetic packages.
4. Setup Python Dependencies for ROS Noetic
You should strictly run these commands line-by-line!
4.1 Prepare ROS Workspace
Create and navigate to the ROS catkin workspace:
mkdir -p ~/ros_catkin_ws && cd ~/ros_catkin_ws
mkdir apt_fix && cd apt_fix
4.2 Install Build Dependencies
Install necessary packages for building dependencies:
sudo apt install -y packaging-dev debian-keyring devscripts equivs
4.3 Build and Install HDDTemp
Download, build, and install the HDDTemp package:
dget -x http://deb.debian.org/debian/pool/main/h/hddtemp/hddtemp_0.3-beta15-54.dsc
cd hddtemp-0.3-beta15
sudo mk-build-deps --install --remove
dpkg-buildpackage -us -uc
sudo apt install -y ../hddtemp_*_*.deb
sudo apt purge -y hddtemp-build-deps
cd ..
4.4 Install Required ROS Packages
Download and install specific ROS packages required for setup:
wget http://comp.nus.edu.sg/~guoyi/tutorial/cg2111a/ros-setup/archive/deb/liblog4cxx11_0.11.0-2_arm64.deb
wget http://comp.nus.edu.sg/~guoyi/tutorial/cg2111a/ros-setup/archive/deb/libogre-1.9.0v5_1.9.0+dfsg1-12.1_arm64.deb
wget http://comp.nus.edu.sg/~guoyi/tutorial/cg2111a/ros-setup/archive/deb/libogre-1.9-dev_1.9.0+dfsg1-12.1_arm64.deb
wget http://comp.nus.edu.sg/~guoyi/tutorial/cg2111a/ros-setup/archive/deb/liblog4cxx-dev_0.11.0-2_arm64.deb
wget http://comp.nus.edu.sg/~guoyi/tutorial/cg2111a/ros-setup/archive/deb/libgeographic-dev_1.49-2_amd64.deb
wget http://comp.nus.edu.sg/~guoyi/tutorial/cg2111a/ros-setup/archive/deb/libgeographic17_1.49-4_arm64.deb
wget http://comp.nus.edu.sg/~guoyi/tutorial/cg2111a/ros-setup/archive/deb/liborocos-kdl1.4_1.4.0-7build2_arm64.deb

sudo apt install -y ./*.deb
Ensure all downloaded Debian packages are installed:
sudo dpkg -i libgeographic17_1.49-4_arm64.deb liblog4cxx11_0.11.0-2_arm64.deb liblog4cxx-dev_0.11.0-2_arm64.deb libogre-1.9.0v5_1.9.0+dfsg1-12.1_arm64.deb libogre-1.9-dev_1.9.0+dfsg1-12.1_arm64.deb liborocos-kdl1.4_1.4.0-7build2_arm64.deb
5. Setup ROS Noetic
Setting up ROS Noetic on your system involves initializing the ROS dependency management tool, rosdep, and using rosinstall_generator and wstool to manage your source workspace. Here's a breakdown of the steps you provided, refined for clarity and completeness:
5.1 Initialize rosdep
rosdep is a command-line tool for installing system dependencies for ROS packages. To initialize it, run:
sudo rosdep init && rosdep update
This command initializes rosdep and then updates its database to ensure it has the latest information about available packages and dependencies.
Debugging Time
Note: If you encounter error messages like:

Just ignore and continue doing next step!
5.2 Create a ROS workspace
ROS workspaces are directories where you can build ROS packages. Create a new workspace for ROS Noetic and navigate into it with:
mkdir -p ~/ros_catkin_ws && cd ~/ros_catkin_ws
This creates a directory named ros_catkin_ws in your home folder and changes the current directory to it.
5.3 Generate a ROS installation manifest
Use rosinstall_generator to create a custom ROS installation manifest. This tool helps you specify which ROS packages you want to include in your workspace.
rosinstall_generator ros_comm common_msgs ros_tutorials rviz --rosdistro noetic --deps --wet-only --tar > noetic-ros_comm-wet.rosinstall
This command generates a .rosinstall file for the ROS communication libraries, common message types, tutorials, and RViz, along with their dependencies, specifically for ROS Noetic.
5.4 Initialize your workspace with wstool
wstool is a command-line tool for managing source code repositories in your ROS workspace.
wstool init src noetic-ros_comm-wet.rosinstall
This initializes your workspace's src directory based on the .rosinstall file, pulling in the specified sources.
5.5 Install dependencies using rosdep
Finally, install any missing dependencies for the packages in your workspace with rosdep. This command checks your src directory for packages, identifies their system dependencies, and installs them.
rosdep install -y --from-paths src --ignore-src --rosdistro noetic -r --os=debian:bookworm
The -y flag automatically confirms the installation of dependencies, --from-paths src tells rosdep where to look for packages (in the src directory of your workspace), --ignore-src skips installing packages that are already present in the source directory, --rosdistro noetic specifies the ROS distribution, -r continues installing dependencies even if some are missing, and --os=debian:bookworm specifies your operating system and version.
After completing these steps, your ROS Noetic workspace will be set up with the necessary packages and dependencies, ready for development.
6. Build ROS Noetic
To build ROS Noetic from source and ensure it's properly installed on your system, the command you provided outlines a critical step in compiling the ROS workspace you've prepared. Here's a detailed explanation of what this command does and some slight refinements for clarity:
sudo src/catkin/bin/catkin_make_isolated --install -DCMAKE_BUILD_TYPE=Release --install-space /opt/ros/noetic -j1 -DPYTHON_EXECUTABLE=/usr/bin/python3
Here are explainations of parameters of the command above:
src/catkin/bin/catkin_make_isolated: This invokes the catkin_make_isolated script, which is part of the catkin toolset designed to build ROS packages. Unlike catkin_make, catkin_make_isolated builds each package in isolation, avoiding potential conflicts between packages.--install: This flag indicates that the build artifacts should be installed after compilation, making them available system-wide.-DCMAKE_BUILD_TYPE=Release: Sets the build type to "Release," optimizing the compiled software for performance rather than debugging ease. This is useful for a production environment or when you don't need detailed debug information.--install-space /opt/ros/noetic: Specifies the installation directory. This is where the built packages will be installed. /opt/ros/noetic is the conventional location for ROS installations, keeping different ROS distributions separate.-j1: This option limits the build process to use only one job at a time. Building with a single job can reduce memory usage during the compilation, which is beneficial on systems with limited resources.-DPYTHON_EXECUTABLE=/usr/bin/python3: Explicitly sets the path to the Python 3 executable. This is important for ensuring that ROS uses Python 3, as ROS Noetic is designed to work with Python 3 due to Python 2 reaching the end of its life.
Executing this command will compile and install ROS Noetic to the specified install space, making it available for development and use.
Warning!
Building ROS from source can be time-consuming, especially with -j1, so it might take a while to complete. You may relax and wait until it is done!
Why not try to play a game to help SoC train AI? Click here to play!
Debugging Time
Note: If you encounter error messages like Command failed, exiting.. This highly likely means you did not install and set up Python prerequisites correctly. Please redo section 4 again and retry running section 6 code.
This issue should be solved elegantly!
7. Initialize and Test ROS Noetic
We will use the pre-installed turtlesim to test the functionalities of ROS. Before we run the ROS, we need install some python packages manually. Please enter a terminal, and use these commands to install packages:
sudo apt update
sudo pip3 install defusedxml
sudo pip3 install rospkg
sudo pip3 install netifaces
Then, please follow these steps to test your ROS:
- Open a terminal and enter
source /opt/ros/noetic/setup.bash. [Note: You need to do this for all new terminals to add the packages to the ROS searching directory list. The configuration only works for the current terminal.]
-
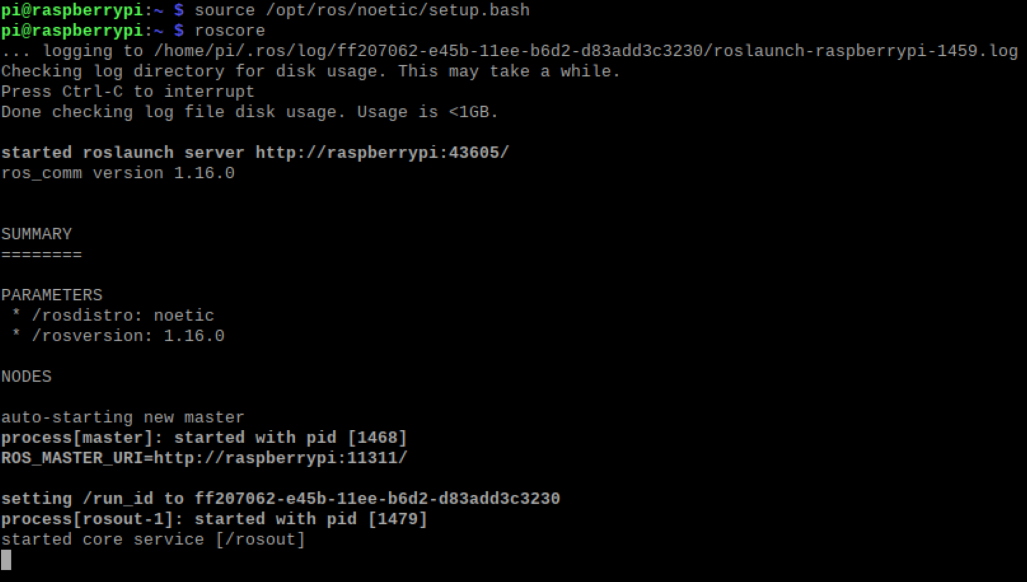
Enter
roscore to start the ROS master program, you will see:
-
Open another terminal, perform the command from step 1 again, then enter
rosrun turtlesim turtlesim_node. You should see a window titled "TurtleSim" on your screen:
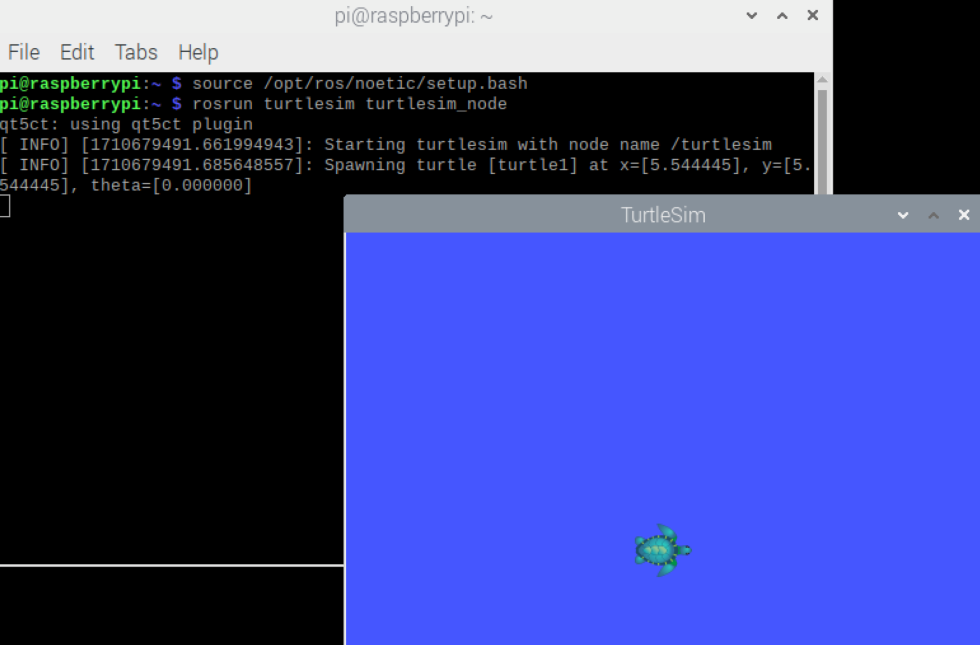
This window simulates a turtle. Note: The turtle drawing is random, so your turtle may appear differently. Do NOT close the turtlesim window.
-
To find out how many ROS nodes are involved, open a new terminal and enter
rosnode list. You should see the following output:
/rosout
/turtlesim
The turtlesim node is what you see visualized, while rosout is the default console log output.
-
In a new terminal, perform the command from step 1, then enter
rosrun turtlesim turtle_teleop_key. This command starts another ROS node turtle_teleop_key which allows you to control the turtle simulation using your keyboard. Use the arrow keys to move your turtle around, here is a GIF demostration:
This hands-on experience with turtlesim helps solidify your understanding of ROS Noetic's basic functionalities and node interaction.
· End of Tutorial ·
★ Bonus Time!
You have done 0 out of 6!
Hip, hip, hooray! You have successfully set up the ROS on your Raspberry Pi by yourself! We highly recommend trying out Tutorial 2: Listener & Talker Exercise to familiarize yourself with the ROS. Detailed instructions will be provided in the next tutorial.
References:
- Prof. Boyd Anderson; CG2111A, AY22/23 Semester II;
